An important step to be able to perform SEO analysis with Google Analytics is to configure the Google Analytics 4 GA4 property so that it can collect data from our website.
To start using Google Analytics 4 we have the following options:
- Create an Analytics property and data stream. This is the recommended method for new sites that don’t have Google Analytics set up yet.
- Add Analytics to sites with Universal Analytics. Universal Analytics is nothing more than the previous generation of Google Analytics, so this is the recommended method for those who had the previous version of Google Analytics configured.
- Add Analytics to CMS or content managers. Recommended methods for WordPress, Magento, Shopify, Wix… etc.
In this article we are going to focus on the first option which, as we have already said, allows us to create an Analytics 4 account from the start and configure it correctly.
Create Google Analytics 4 account
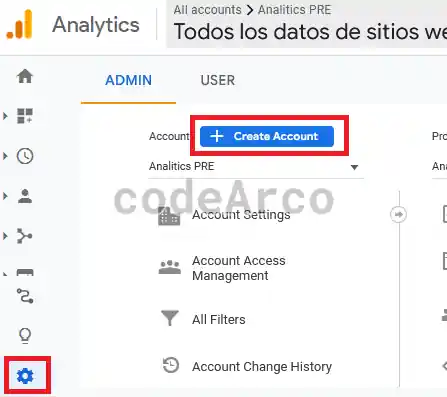
To create the Google Analytics 4 account we will go to “Admin” located in the lower gear on the left and select “Create account”.
Then we will establish a name, accept the conditions and click “Next”.
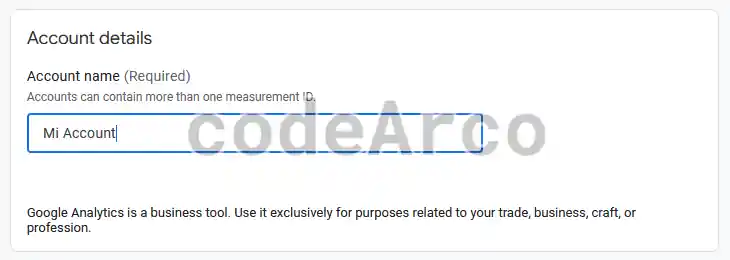
This step is optional, you may already have a Google Analytics account created.
Create Google Analytics 4 Property
Next we must create a Google Analytics 4 property establishing the name, time zone and currency:
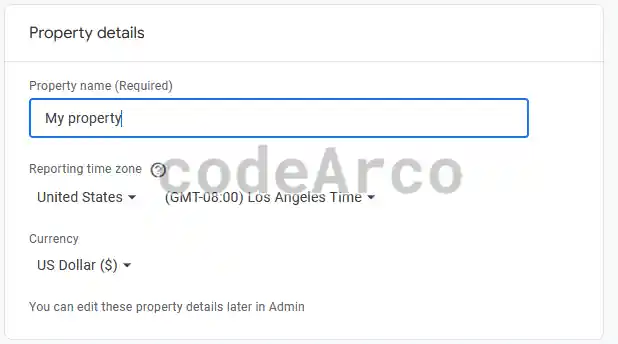
Later it will ask us for details about our company, such as the sector or size of the company and the business objectives.
Data stream or data flow in Google Analytics 4
We have several data streams in Google Analytics 4, which are:
- Web. To collect data from a web application that we own.
- Android application. Data collection from an Android application.
- iOS application. Data collection from an iOS application.

Since we want to configure it for a web page, we will select the first option.
Finally we will be asked for the url of the website and the name of the stream. We select “Create stream”.
Verify property in Google Analytics 4
In this step we are going to verify the property to Google Analytics 4, that is, we are going to demonstrate to Google that the website really is ours to enable data stream.
If you remember, we also did this step with Google Search Console and the property verification, it is very similar and, in fact, the options to verify the Google Analytics property are almost the same:
- Add a tag to a CMS or content manager, such as Blogger, Drupal, Magento, Shopify… etc. Recommended method if you have a content manager that allows you to easily enter the Google ID.
- Add the tag through Google Tag Manager. Recommended method if you have Google Tag Manager configured and installed on your website.
- Add the tag manually to our website. It is the least recommended method of all, but, sometimes, we have no other alternative than this.
Basically all the methods consist of the same thing, that is, inserting the gtag.js tag in the <head> section of all our web pages, the only thing that changes is the way of doing it.
All methods use the “Admin” section, within the previously created property, “Data Collection” and “Data streams”, we click on our web data stream and finally we have the “Google Tag” section.

In the “Google Tag” section, depending on the method we use, we will have to select one option or another and follow some steps or others. You have the instructions to verify ownership or enable data collection in the section “Set up data collection for websites” from the previous link.
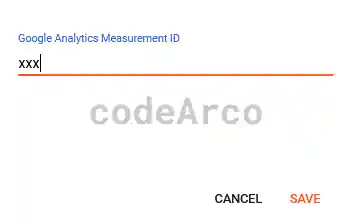
For example, for Blogger, we simply have to enter the id that begins with G in the CMS configuration:
We must keep in mind that this process may take up to 30 minutes to begin collecting data.
Finally, to verify that Google Analytics 4 collects data correctly we have several options:
- Go to the Analytics real-time report, if visits begin to appear it means it is correct.
To do this, we can visit the page we are configuring ourselves and verify that said visit appears in real time. - Go to the main page of Google Analytics, verify that we have the correct property selected and, if we see the message “Your website’s data collection is active” it means that everything has gone correctly.

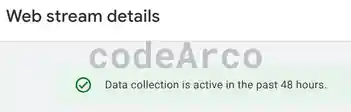
Google Analytics 4 active data collection - Go to “Admin” with the property created previously, click on “Data collection and modification” and “Data streams”. We select the web data stream we created at the beginning. You should not see the message “No data received in past 48 hours” or “Data collection isn’t active for your website”, instead you should see the message “Data collection is active in the last 48 hours”.
This method takes longer than the real-time report, approximately 48 hours.

Active data collection in Google Analytics 4 GA4