Gimp is a powerful free image and photo editing software available for Windows, Linux and macOS systems.
In this article we will see the steps to blur an image with Gimp:
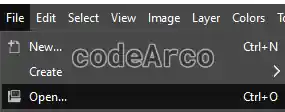
- Open image. To do this we will go to the File, Open menu and select the desired image. Alternatively we can press Ctrl + O.

Open Gimp image - Enable selection tool. To do this we will go to Tools, Selection Tools and use the option we want.
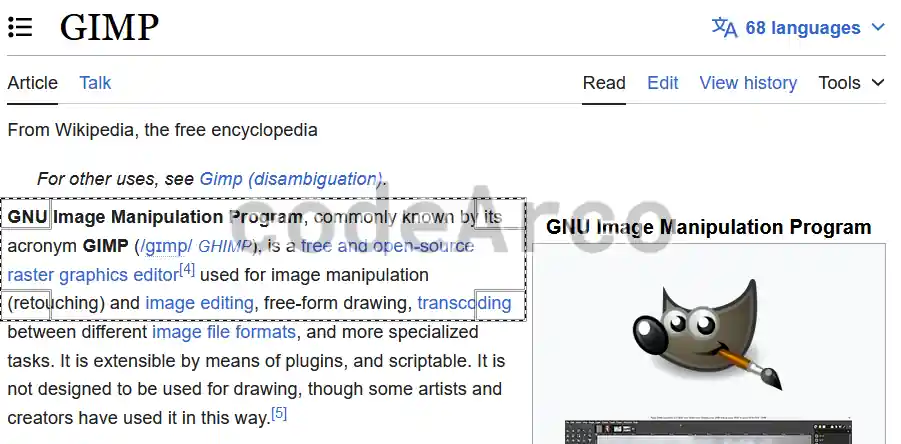
It is recommended to use rectangular selection (R), elliptical selection (E) or free selection (F). - Select the area. Once we have chosen the type of selection desired, with the mouse we will select the area to apply changes.

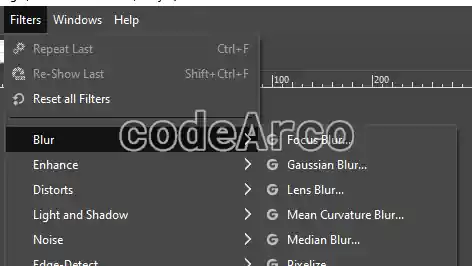
Select area in Gimp - Enable blur tool. Once the area is selected, we will go to Filters, Blur. As you can see, we have multiple options, we will choose Lens or Gaussian blur.

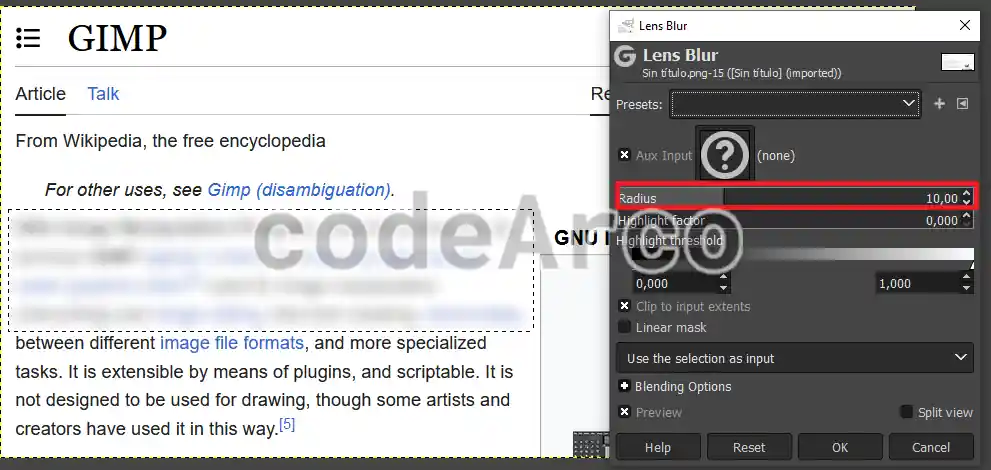
Gimp blur image options - Adjust the blur. If we have chosen Lens option, we will increase the radius value to increase effect and if, on the contrary, we have chosen Gaussian, we will increase the Size X and Y values to increase the effect.

Adjust Gimp blur - Save and export image. Once we have adjusted the blur to our liking, we will go to File, Export As.
If we want to change the extension of the image at the bottom, within “Select file type” we will select the desired extension.
Finally we give it a name and click on Export, leaving the default export options.